We are currently creating content for this section. In order to be able to keep up with our high standards of service, we need a little more time. Please stop by again. Thank you for your interest!
Link to page on how to remove door panel
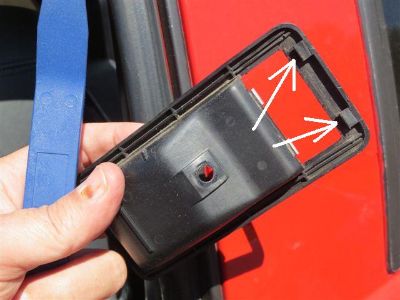 Back of door handle trim held in place by one screw through hole and prawls shown at arrows. Notice nylon pry tool in my hand. Back of door handle trim held in place by one screw through hole and prawls shown at arrows. Notice nylon pry tool in my hand.
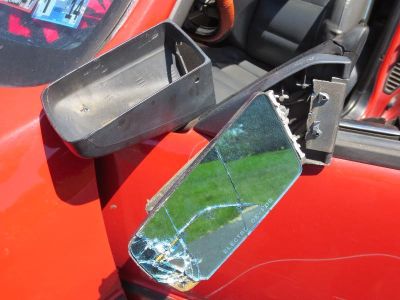
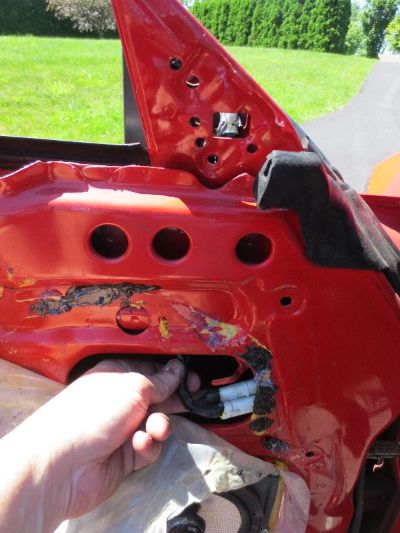
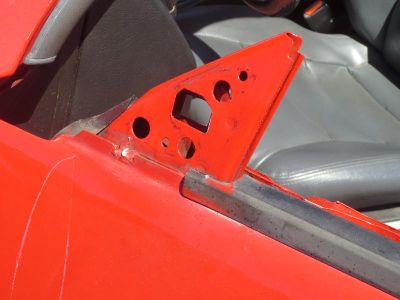
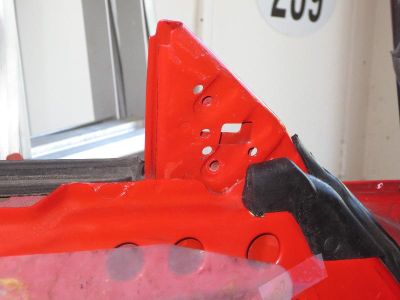
 Three mounting screws holding mirror in place. The holes next to screws is where trim piece below was inserted and fell apart during removal. Three mounting screws holding mirror in place. The holes next to screws is where trim piece below was inserted and fell apart during removal.
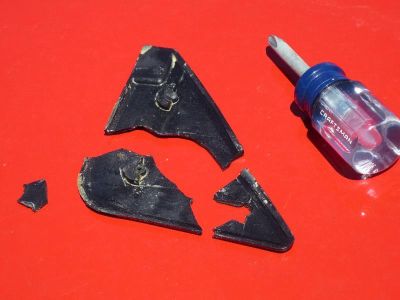 This trim piece was covering the mounting screws above. This trim piece was covering the mounting screws above.
 Disconnect the power and heater wires to the mirror before removal. Wire was tight fit betwween door frame. Disconnect the power and heater wires to the mirror before removal. Wire was tight fit betwween door frame.
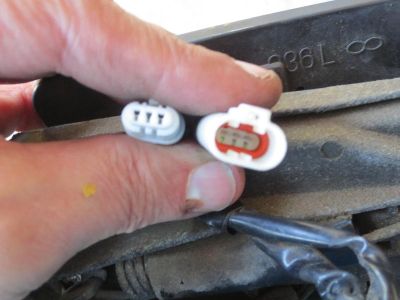 Oval connectors. Some mirrors have square connectors. Be sure and note the difference when getting a new mirror. Oval connectors. Some mirrors have square connectors. Be sure and note the difference when getting a new mirror.
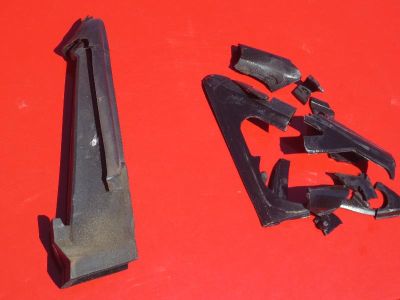 Piece on left is last to come off and first to go on. I refreshed it with some Armor-All and repaired the small cracks with black RTV silicone. This piece can be replaced at anytime without removing the mirror. Piece on left is last to come off and first to go on. I refreshed it with some Armor-All and repaired the small cracks with black RTV silicone. This piece can be replaced at anytime without removing the mirror.
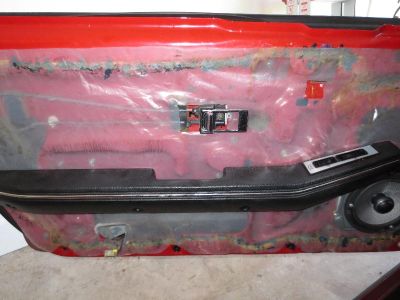 Waiting for parts to arrive, I reinstalled just the arm rest and window switch so the door would be functional and the car still driveable. Waiting for parts to arrive, I reinstalled just the arm rest and window switch so the door would be functional and the car still driveable.
|